3D modeling part 1
I am creating the 3D model in Blender. I have decided to leave myself quite a lot of time to do it because I have never done a model this complicated. It is something new for me, therefore I really need to look at different youtube tutorials to teach myself how to even start.
First thing I needed to do was to upload the reference pictures in Blender. The default cube I have changed into a wire frame to know where to put the reference images so it is easier for me to actually put the reference pictures in the software.

This screenshot shows how it looked after I have placed one of the reference pictures. I needed to then scale it down and place it on one of the sides of my wire frame.

When I have placed both of the reference pictures I have changed their brightness, because they were so bright I was not able to even to see the new shapes I was placing in the software. After I was happy with the reference images, I have added a sphere that would be a base for the head. I needed to move the sphere a little bit up and scale it down as well so it would be exactly the size of the reference pictures' head. This became a base for my sculpting. I had to click into edit mode to start editing. This is why it was important to have the reference picture for both front and side, because in 3D I have to sculpt both sides. Since my character is very symmetrical, I have deleted half of the sphere and turned in the mirror modifier. The mirror modifier let me apply all the edits I do to both sides of the sculpture immediately. It is very useful when doing a symmetrical sculpture.

In blender I am working on vertices and am changing shapes by moving them around. I have been moving vertices so they align with both my front reference image and my back reference image. I like to work on a wire frame because then I can also select vertices that are in the back, but that sometimes becomes tricky and I accidentally select vertices I don't want to select. To solve that problem I have looked into the option to hide faces and vertices. I can hide them and when they are hidden they are locked, I can unhide them any moment. This option has been very useful to me, therefore I am glad I found it.

I have also learned a lot about sculpting a face. I found out that I need to concentrate on rings surrounding some of the facial elements. There should be one ring of surfaces surrounding the face, one surrounding the eye and one surrounding mouth and nose. I did not know that this is how the human's face is really built. Creating the main ring was quite simple because if I really think about it, the ring was already done. In the screenshot above I was trying to create a ring around the eyes. It works sort of like a mask, but not like a mouth covering we are all wearing in covid, but like a theatrical mask that only covers they eyes. I really had to think about the bone structure of the face, then modeling.
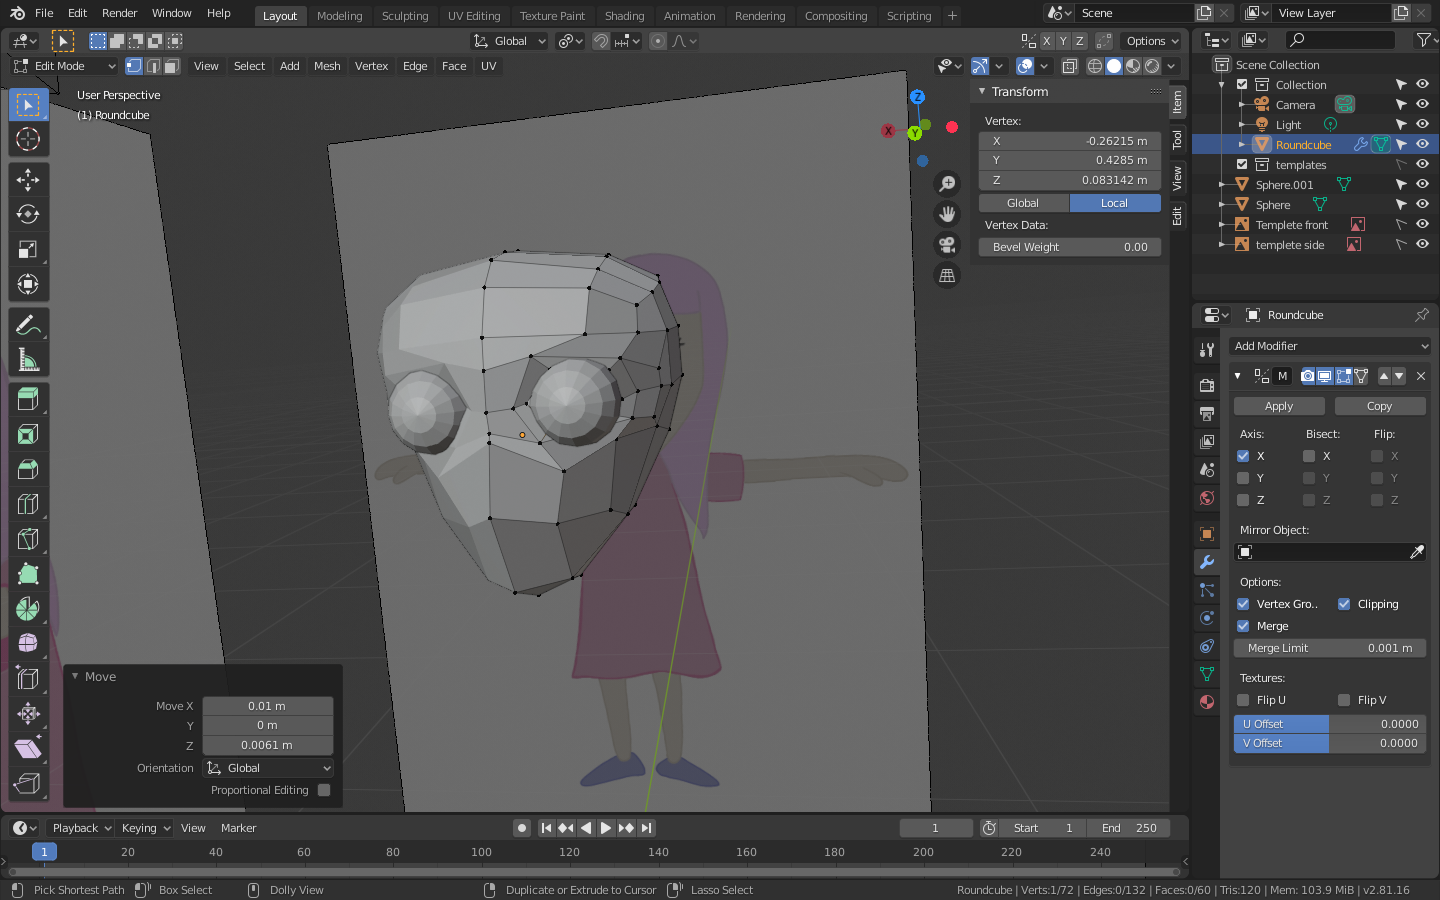
I have also added two smaller spheres to represent eyes. I have switched back to a full shape rather than wire frame, because the eyes created a lot of vertices and edges that made it all very messy to look at.
This is all I have completed so far. I know this is coming along very slowly, but it is because I am still exploring the software and it is difficult to me at times. I think I am doing something very impressive though and I am proud of my work so far. I just need to keep it up to finish it on time.


This is really exciting - take your time, you still have enough room to complete and make changes.
ReplyDelete