As the deadline is approaching, I decided to work on the last part of the project which are the GIFs. Exactly as explained in my previous post, I have not created GIFs in the past, so I was not really sure what to expect. All I knew was that it is similar to creating a short animation. I have experimented with GIF creation in on of my previous posts and I knew how to approach it.
The first GIF, I decided to create a walk cycle and a walk cycle is generally something difficult. I personally struggle with the walk cycle but especially if the walk takes place in only one place as it does in a GIF, so the character is not really going any direction. The first step to creating a walk cycle in one spot was definitely looking at other GIFs that present the walk cycle. I needed to get an inspiration. I googled GIFs walk cycle and there was a whole bunch of GIFs for me to look at. After I got the sense of how to create it, I started drawing.

I started by drawing the character in a position where they would stand sideways. After I drew it I noticed that he is leaning back too much which makes him look unnatural. I took the 'select' tool and selected his upper body to make him lean to the front a little bit so it is more of a walking/running position. When I was thinking about his way of movement I decided to get once again inspired by Mr. Bobinsky from Coraline where he looked comically with his ridiculously thin legs. Alter's legs are also very thin and this boots are clown-like which works well with the idea I came up with.
Next I have added color to the character and toned his face as I did with the first design. In the picture the toning is shown before I have blended the the colors in so they look natural. When I was happy with the drawing itself I started drawing the walk cycle frame by frame. It was a very time consuming task.
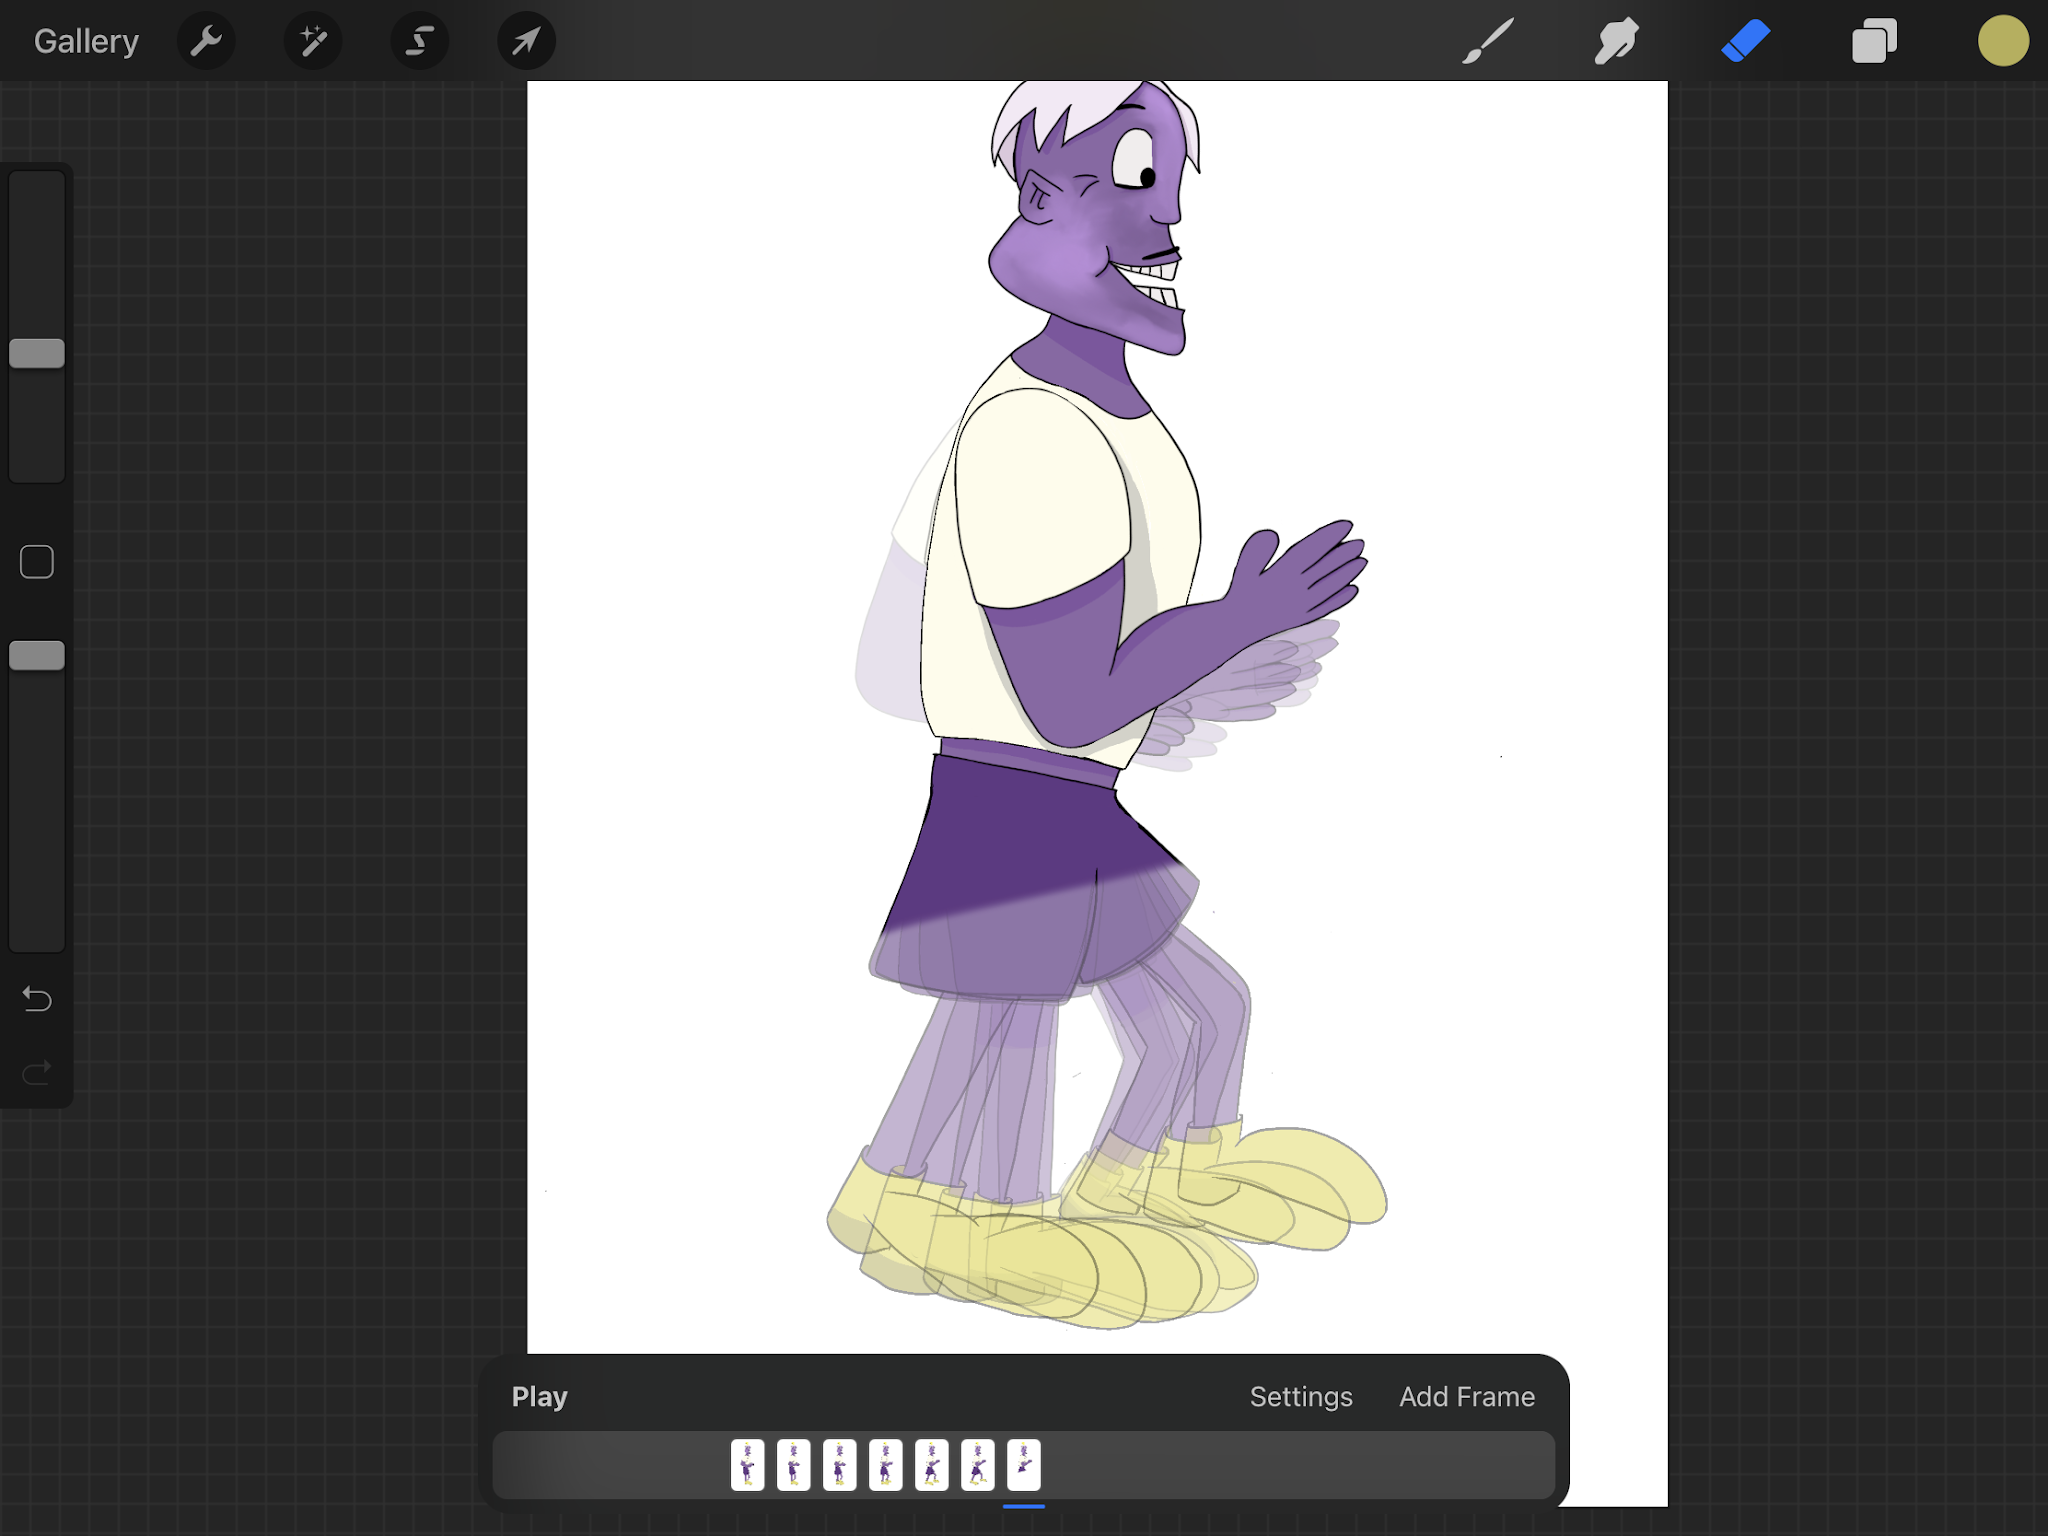
This is how I have started the animating process. I have turned on the Animation Assist option because it it helps me see the timeline. To keep the character in place, I have not been changing the position of the character's body, but just where his legs are and his arms, so it does look like he is walking. In this Animation Assist option, I have noticed that I really find it useful to see all the frames that I drew. It make me realize how big the jumps between frames will be and how to make the character look as smooth as possible.
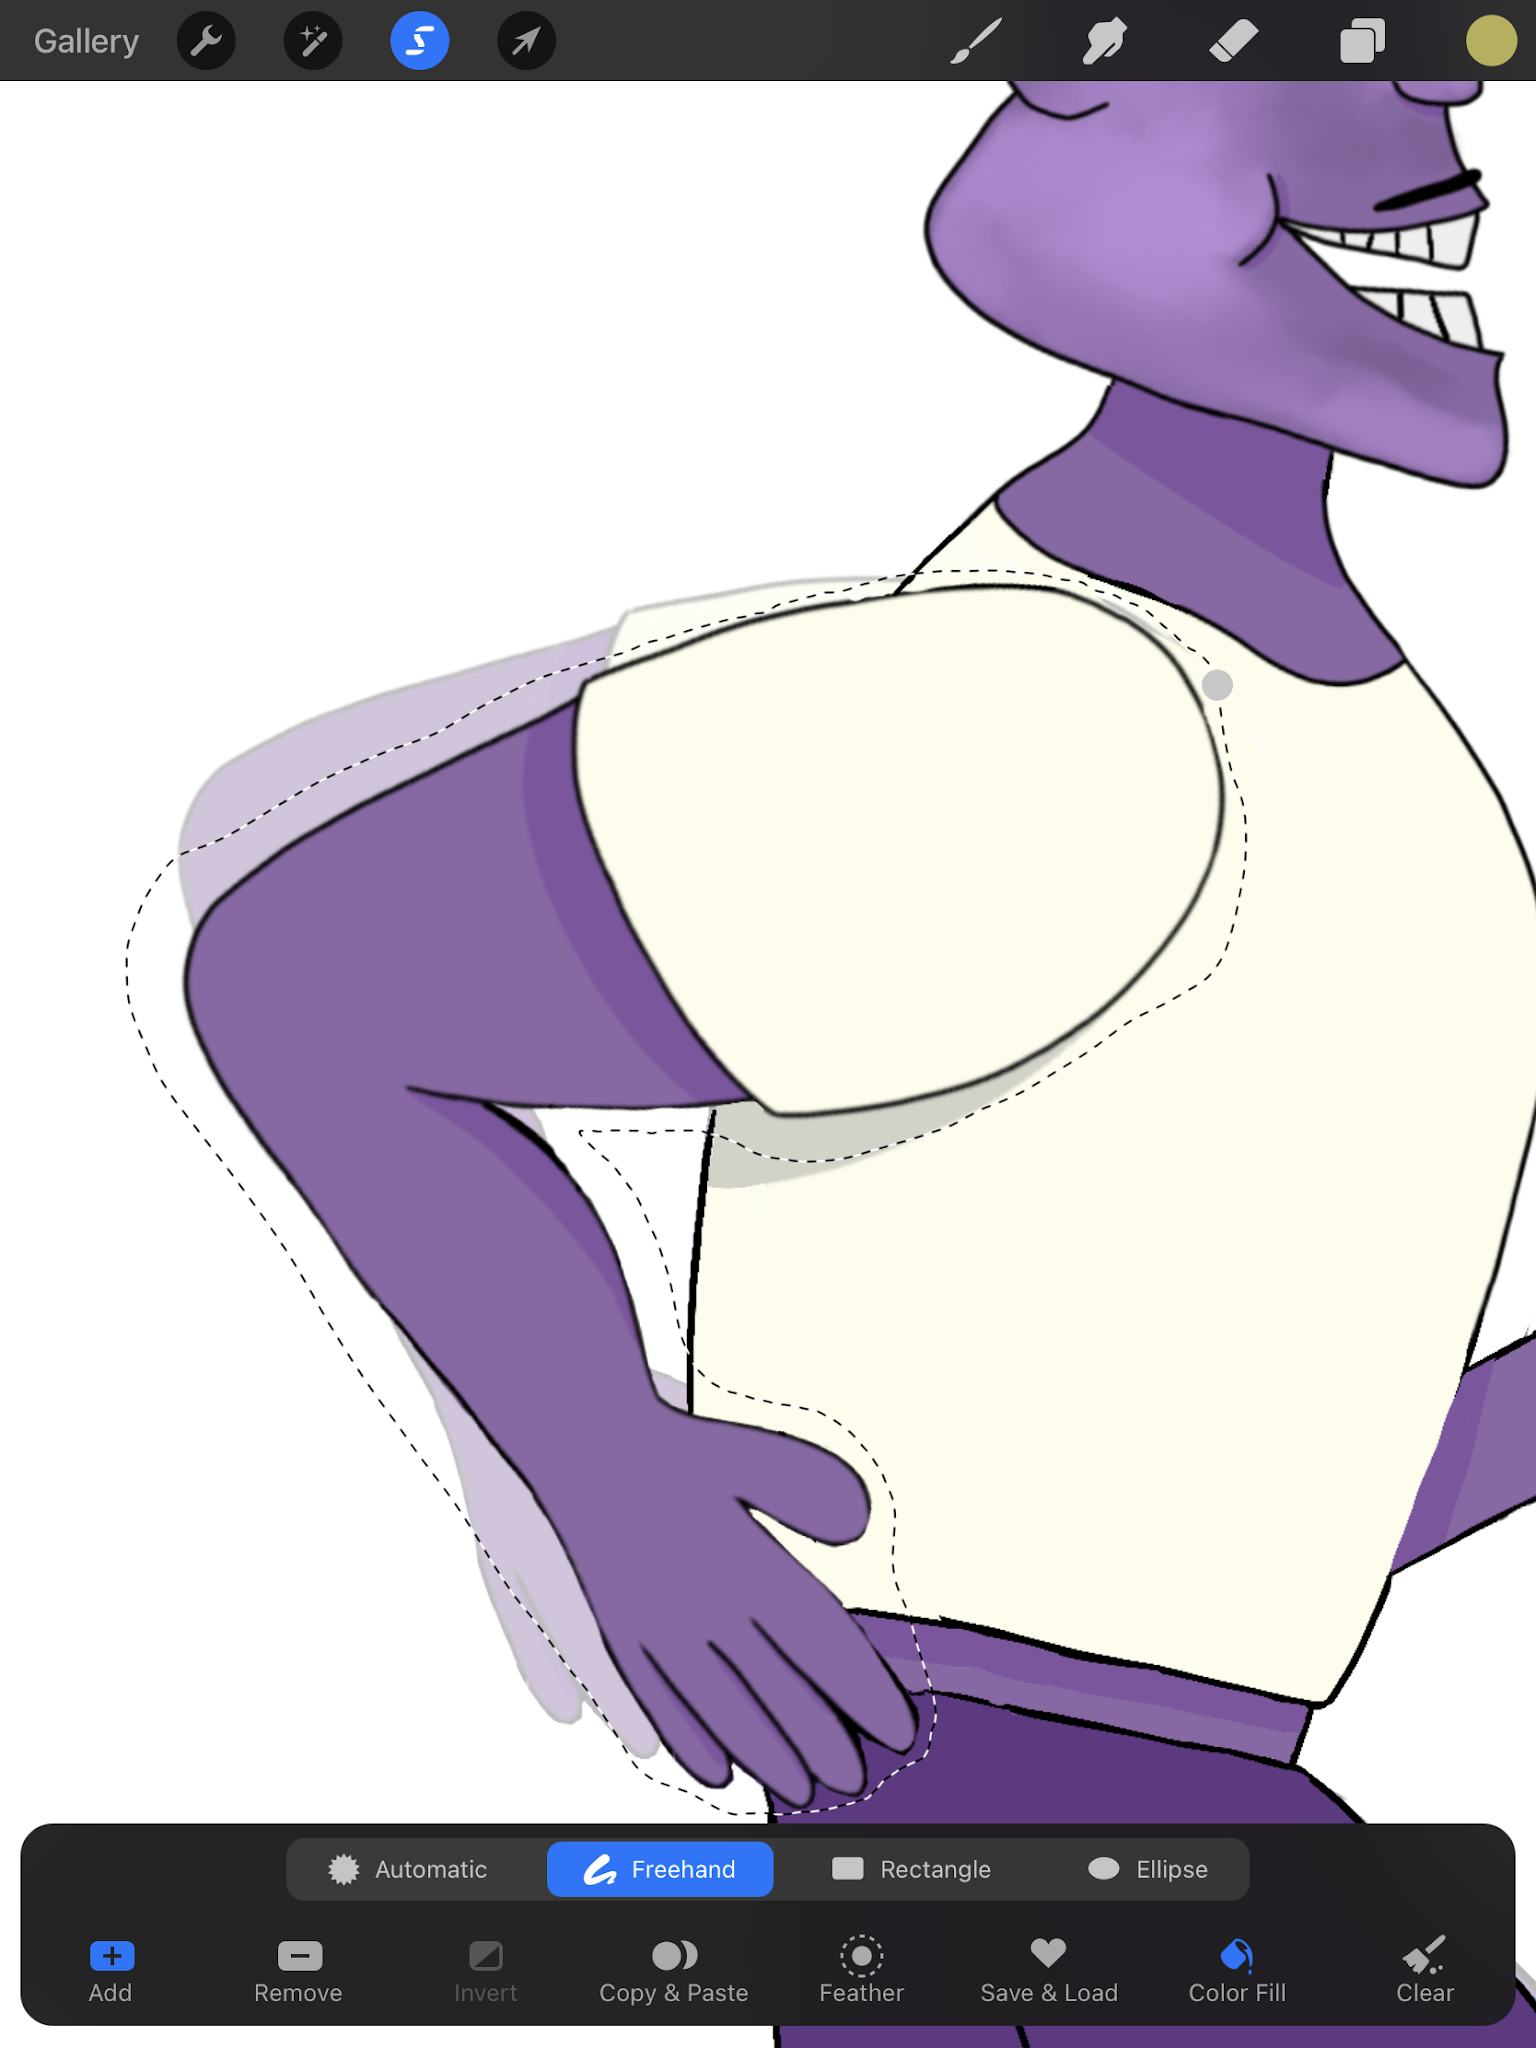
This is how the process looked most of the time: I would erase the shorts and the legs and drew new ones but in a slightly different position. The rest of the body would stay pretty much the same, i have also changed the position of the arms, but I have done it in a different way.
I would select the arms using the select tool and would change the rotation of it. I would make slight changes to it once in a while so the movement would be visible. Every time I would change the rotation, there was a lot to change and correct in the drawing because I was also moving parts of the shirt or the shorts. I needed to work with the eraser tool to make it work. By using the selection tool, I avoided getting confused with the width or the length of the arm and avoided many mistakes.
I have not done the same things with the legs because I needed the legs to change more. As I said I was inspired by Mr. Bobinsky and his way of moving was a little bit odd and ridiculous. I wanted this character to also move funny and that his legs would not be exactly animated correctly, but they would look fun and reflect the clown like idea I was going with.
I have also added a horizon line for my character so it doesn't seem like they are just walking in the white emptiness. As visible on the image above, I have been working on layers and treating layers as if they were frames. Each layer represented a little movement of the character and when working on a layer, I could see all the other layers in a lower opacity - the frames closer to the one I was drawing in a higher opacity than the ones further away.
This is how the work looked like after drawing around 20 frames. I previewed the GIF and I fairly liked it, however I thought that the upper body needed some more movement, because it was too static. I needed it to be static in general, but it turned out to be too static, so the movement looked highly unnatural. I decided to add a little bit of movement in the head of the character so it is slightly nodding.
I used the select tool once again and was changing the rotation of the head to get the nodding movement. I decided not to add too much of the nodding because then it would start looking to dynamic. I worked on almost every frame adding those slight changes so the GIF would look good.
When I reached 26 frames, I have opened a new document on Procreate and continued working on the GIF in a new document. To start the work in a right place, I have copied the 26th frame of the previous document and added it to my new document. This was my starting point. There were only a few frames to make, therefore I continued working the same way I have been working before and I ended up having two GIFs with my character walking.
Here are the two GIFs I needed to combine:
I have also explained in my experimentation post, how I was going to merge those two GIFs into a one GIF. I decided to upload both of them to the website I was using then and there I met and obstacle. There was some sort of error that did not let me merge those two GIFs. I tried refreshing the page and opening it in a new browser, but it didn't help. The issue was still appearing, therefore I started to look for a solution. I looked at many GIF making websites and apps, but it was not easy to find a site or an app that would merge two gifs into one. Because of the problem I decided to use the app that was sort of creating a weird checker visuals on the colors to merge those two GIFs because it was my plan B.
Luckily the website worked and it created this GIF for me.
I am very happy with the movement I have achieved because it is indeed an animation.
Reflecting on this process, I decided that this will be that only walk cycle I was going to complete. I will do other movements for the rest of the characters, but a walk cycle itself is very time consuming and I would not be able to complete 6 of those cycles before the deadline. I like that I have one to showcase what I have learned. Definitely it was a challenging project because it needed me to create a cycle of a movement that looks good and works well. I am happy with this and proud of myself for completing it. I think it is good to challenge myself and this was definitely a challenge.


Again, this looks good, your process is interesting - remember, when you present this, make it clear that these are not animations as an end in themselves, they are demonstrations of how you visualise the characters moving in your animation, as if you are going to send this information off to the animators to make your vision a reality.
ReplyDelete